Showcase Your Work With Beautiful Product Photos
A guide to creating professional looking flat lays and product shots on a budget.

You don’t have to spend a ton of cash on a professional photoshoot to create gorgeous content.
Seriously! Don’t fret if you don’t have the budget for a legit photographer. There are still plenty of ways to show off your work and stand out! You just need to be ready and willing to get down and D-I-Y with it.
Without further ado, here are some of the ways I create eye-catching photos on the cheap.

FAKE IT ‘TIL YOU MAKE IT
Photoshop is your friend. Just like magic, you can make something appear that isn’t really there. It still mystifies my husband every time I whip out the clone tool, add shadows and texture to a fake object, or change up the colors in a photo. It really keeps the mystery and magic going in our relationship.
To create your lovely fake product photo, you’ll first need a high-quality shot that you can add your product to. May I say, first and foremost, DON’T STEAL A PHOTO THAT YOU DON’T HAVE PERMISSION TO USE. Nope. Don’t do it.
Instead, head on over to a website like Unsplash to grab a gorgeous, free, high-res image to work with. For real, these photos come from photographers and are all free to use for personal or commercial purposes (what?!). There are several other free stock photo sites that don’t have completely horrid photos (google “sites like Unsplash”) but Unsplash is BY FAR the best.
Another place I’ve had success with is Adobe Stock. While these images aren’t free (you pay by subscription or per credit), you do get 10 free images when you sign up for a trial! Even if you decide to stick with it and pay month-to-month or annually for more images, that’s still way cheaper than if you would have custom-shot those pictures.

The before image I downloaded from Unsplash
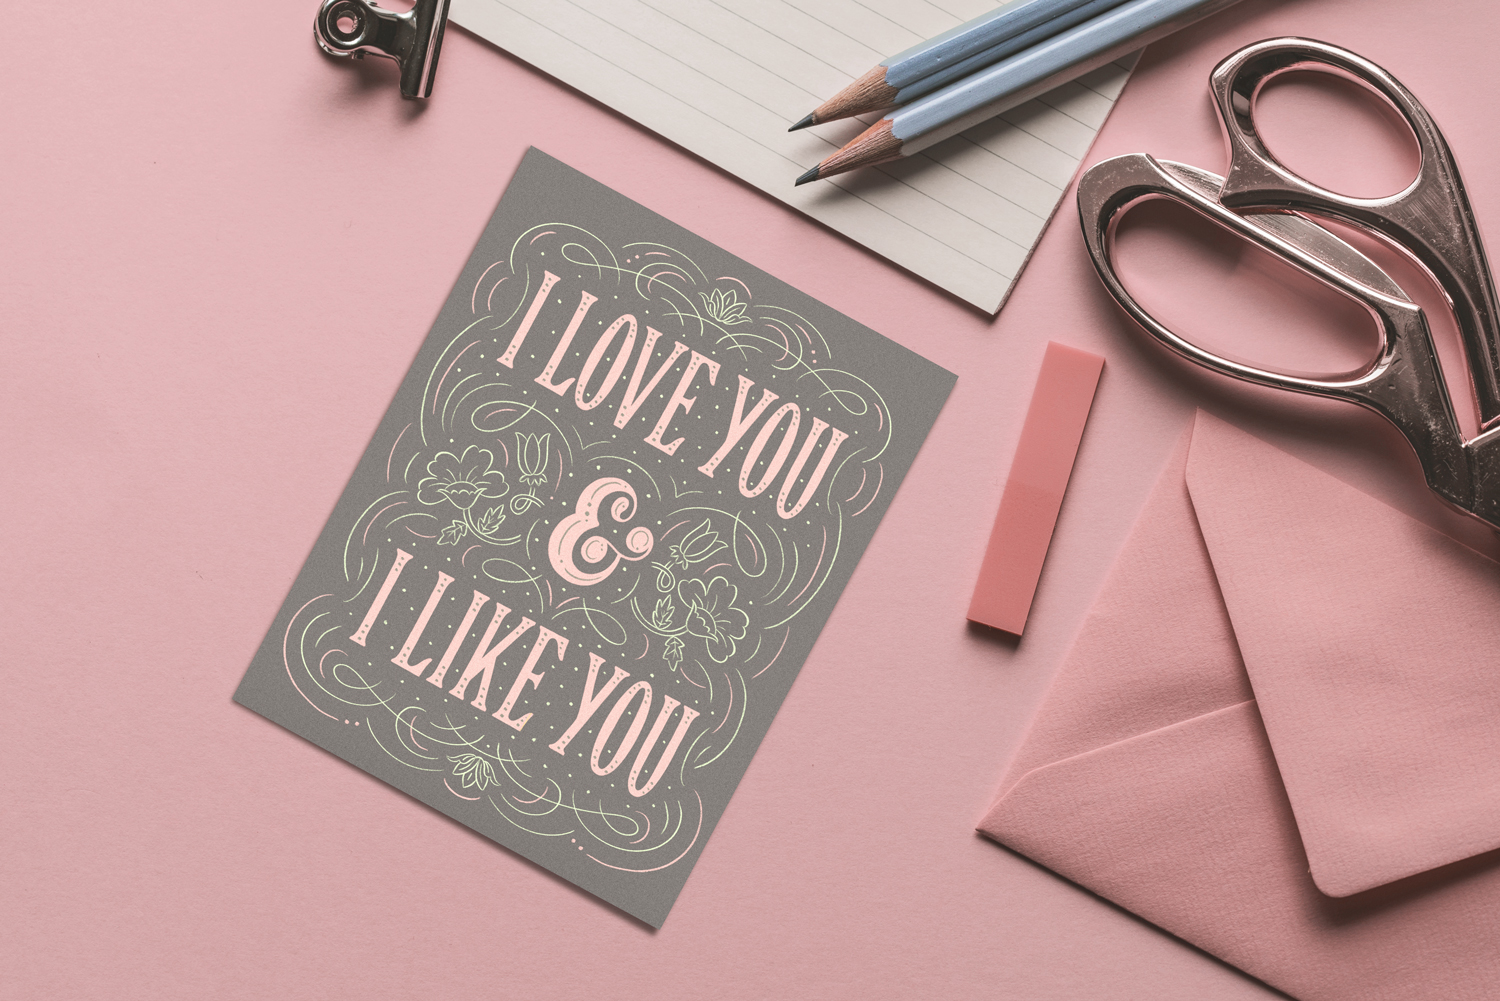
The final photo after I edited & added in my greeting card design.
You can see the magic of Photoshop in action on an Unsplash photo above.
Here’s my usual process for making cards (or other flat objects) look like they’re really in the scene. If you’re not Photoshop savvy, I suggest taking a class over on Skillshare, Lynda.com, or good ol’ Youtube to get up to speed:
Create a rectangle sized to your card dimensions and turn it into a smart object.
Double click on the smart object to open the object in a new window, and place your design inside. Save that guy!
Now back in the original file, you can distort your smart object with your design inside to look like it fits realistically inside your scene…without distorting your actual design. In other words, you can mess with the perspective and rotation of the object within the file, but when you double click on the smart object, it will open up your original design completely unscathed and unchanged. Neat!
Once the card is in the proper perspective, create two clipping masks: one for adding light, and one for adding shadow. Use the light source that exists in the photo to determine where the fake highlights and shadows should go on your card and use a white brush to add highlights (set blending mode to screen and adjust opacity), and a black brush for shadows (set blending mode to multiply and adjust opacity).
Add a bit of noise to the surface of the card to make it look slightly less perfect and digital.
Add a drop shadow underneath the card (again, matching the direction of the shadows from the other objects in your photo). To do this, select the smart object (the card) and then fill that selection with black on a new layer. Move that layer behind the card and add a gaussian blur to soften the edges of the shadow. Lower the opacity to whatever looks natural, and then you can slightly distort where the corners of the shadow are. This way, the shadow looks more realistic because it’s not a 1:1 copy of the shape of the card.
Adjust the colors & levels in the image so that the card fits seamlessly into the scene.

SHOOT “PLATES”
I’m not talking about dinner plates here. The kind of plate I’m referring to is a “template” image that you can make changes to digitally. It’s a weird but common term used in film and photography production.
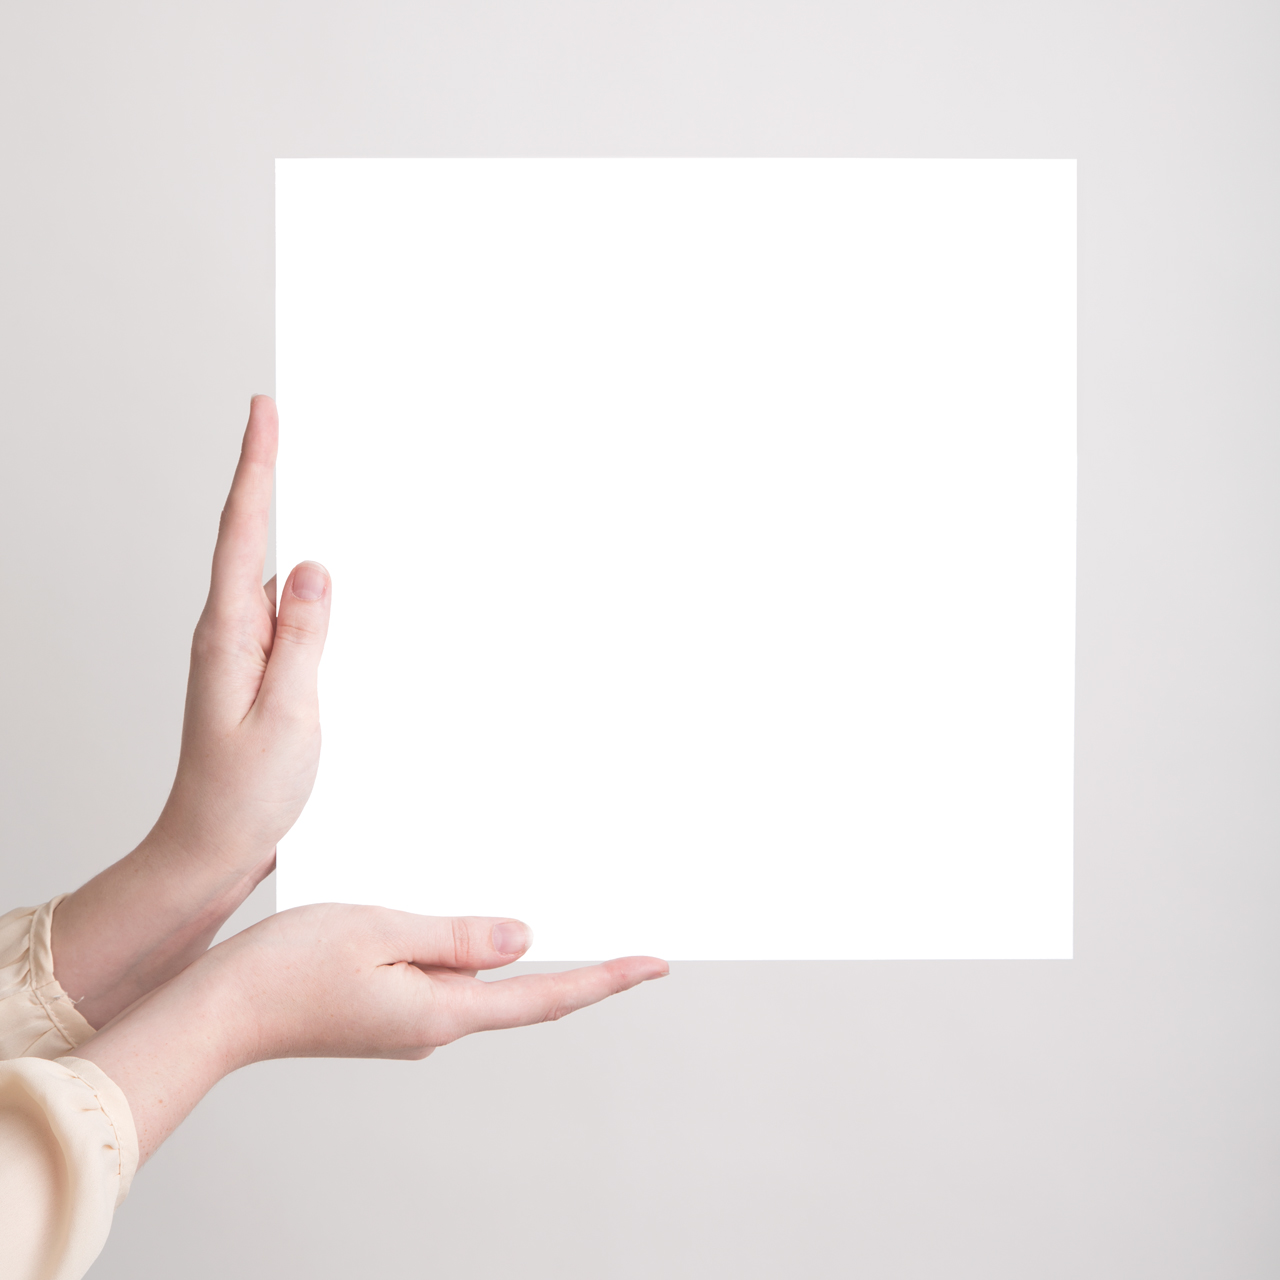
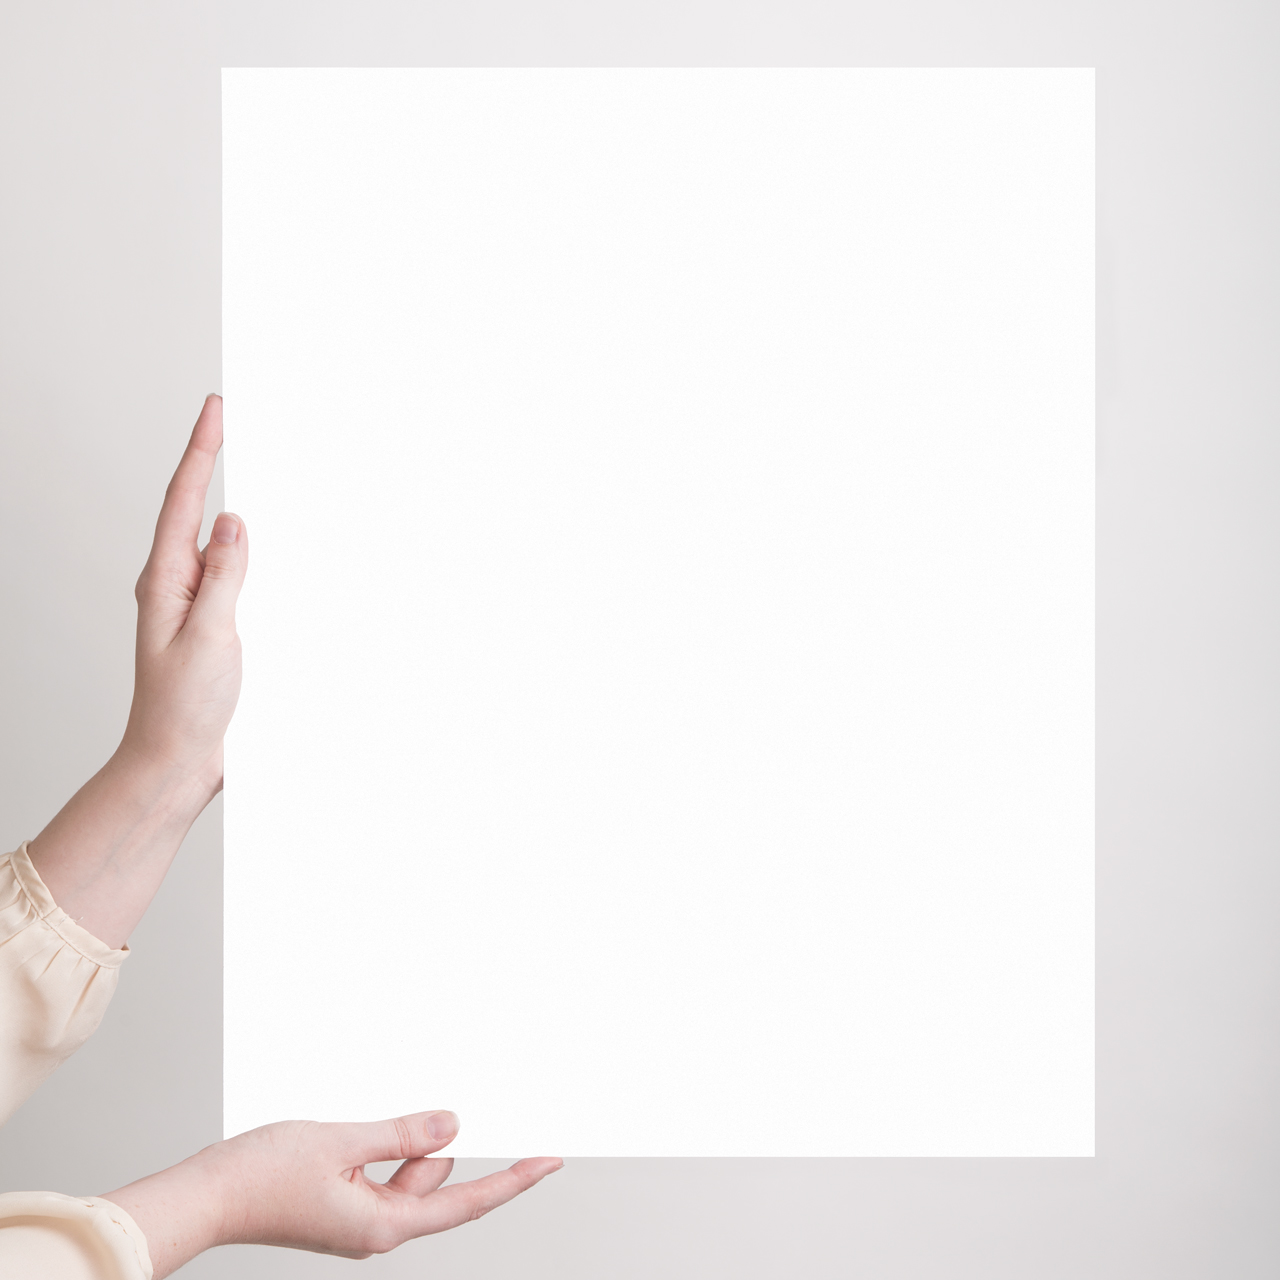
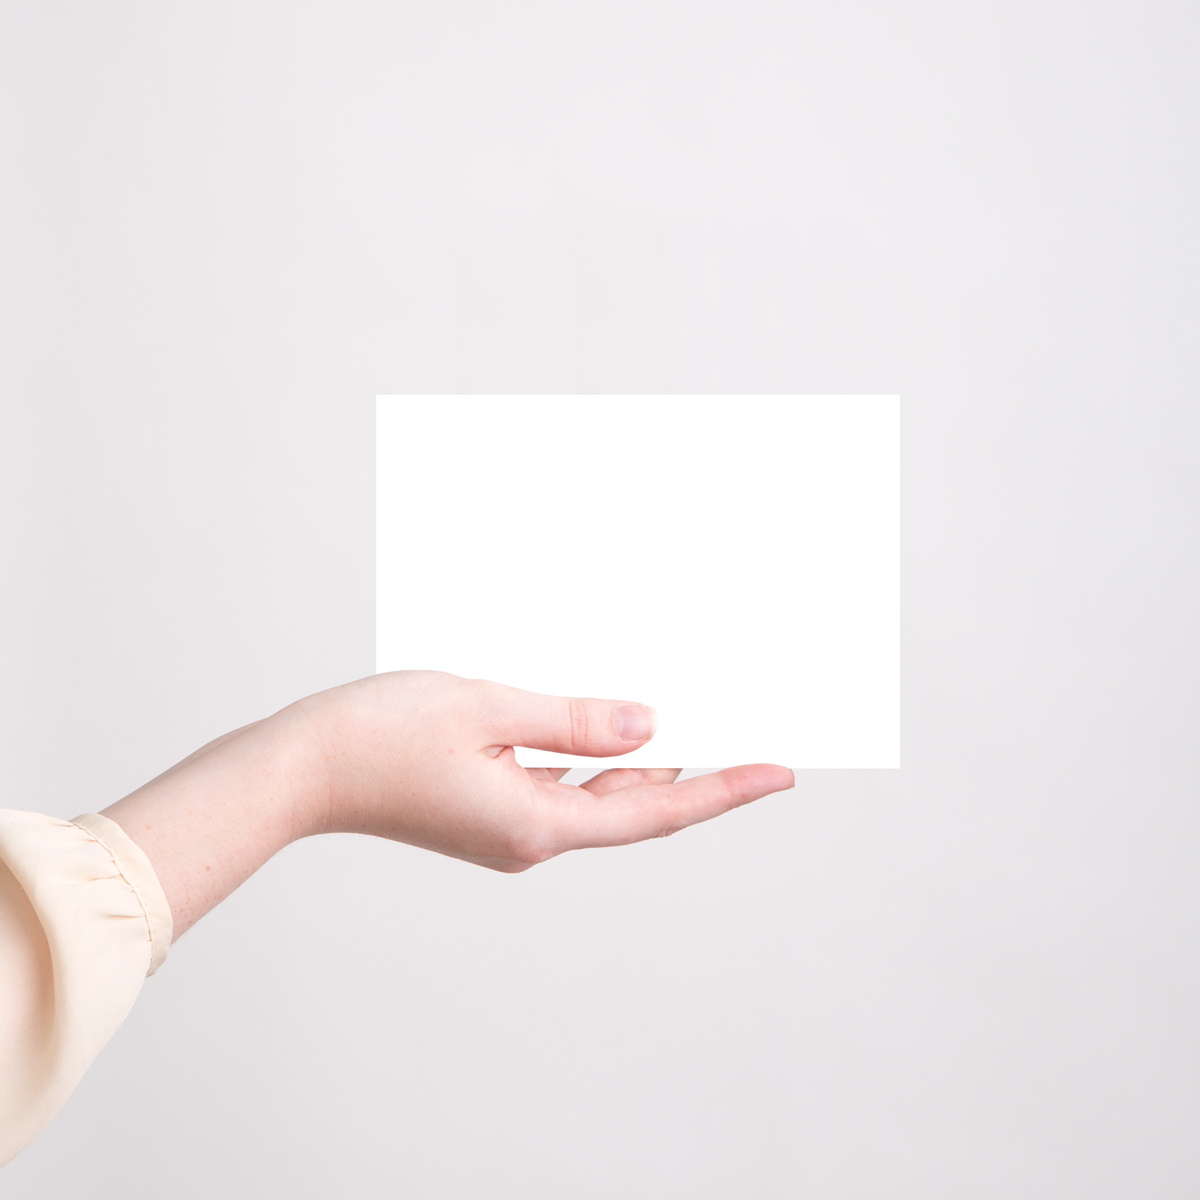
I worked with a talented photographer & friend (Bill Sallans) who I met during my art direction days to shoot some initial plates for my paper goods brand. To keep my start up costs low, we worked out a bit of a barter situation. (That’s always a great option for friends with creative skills, if everyone’s happy and willing to trade!)
Bill and I shot several plate variations of my hands holding different sized prints and cards. I then edited those images in photoshop so that I could display different designs in the same photos. See below for a few examples.
I’ve also created a basic frame template that I use to display all of my art prints in my online shop. I grabbed the frame from an old, free mockup I had (you can find pre-made mockup templates on sites like Graphic Burger), and I just switch out the interior image in Photoshop.


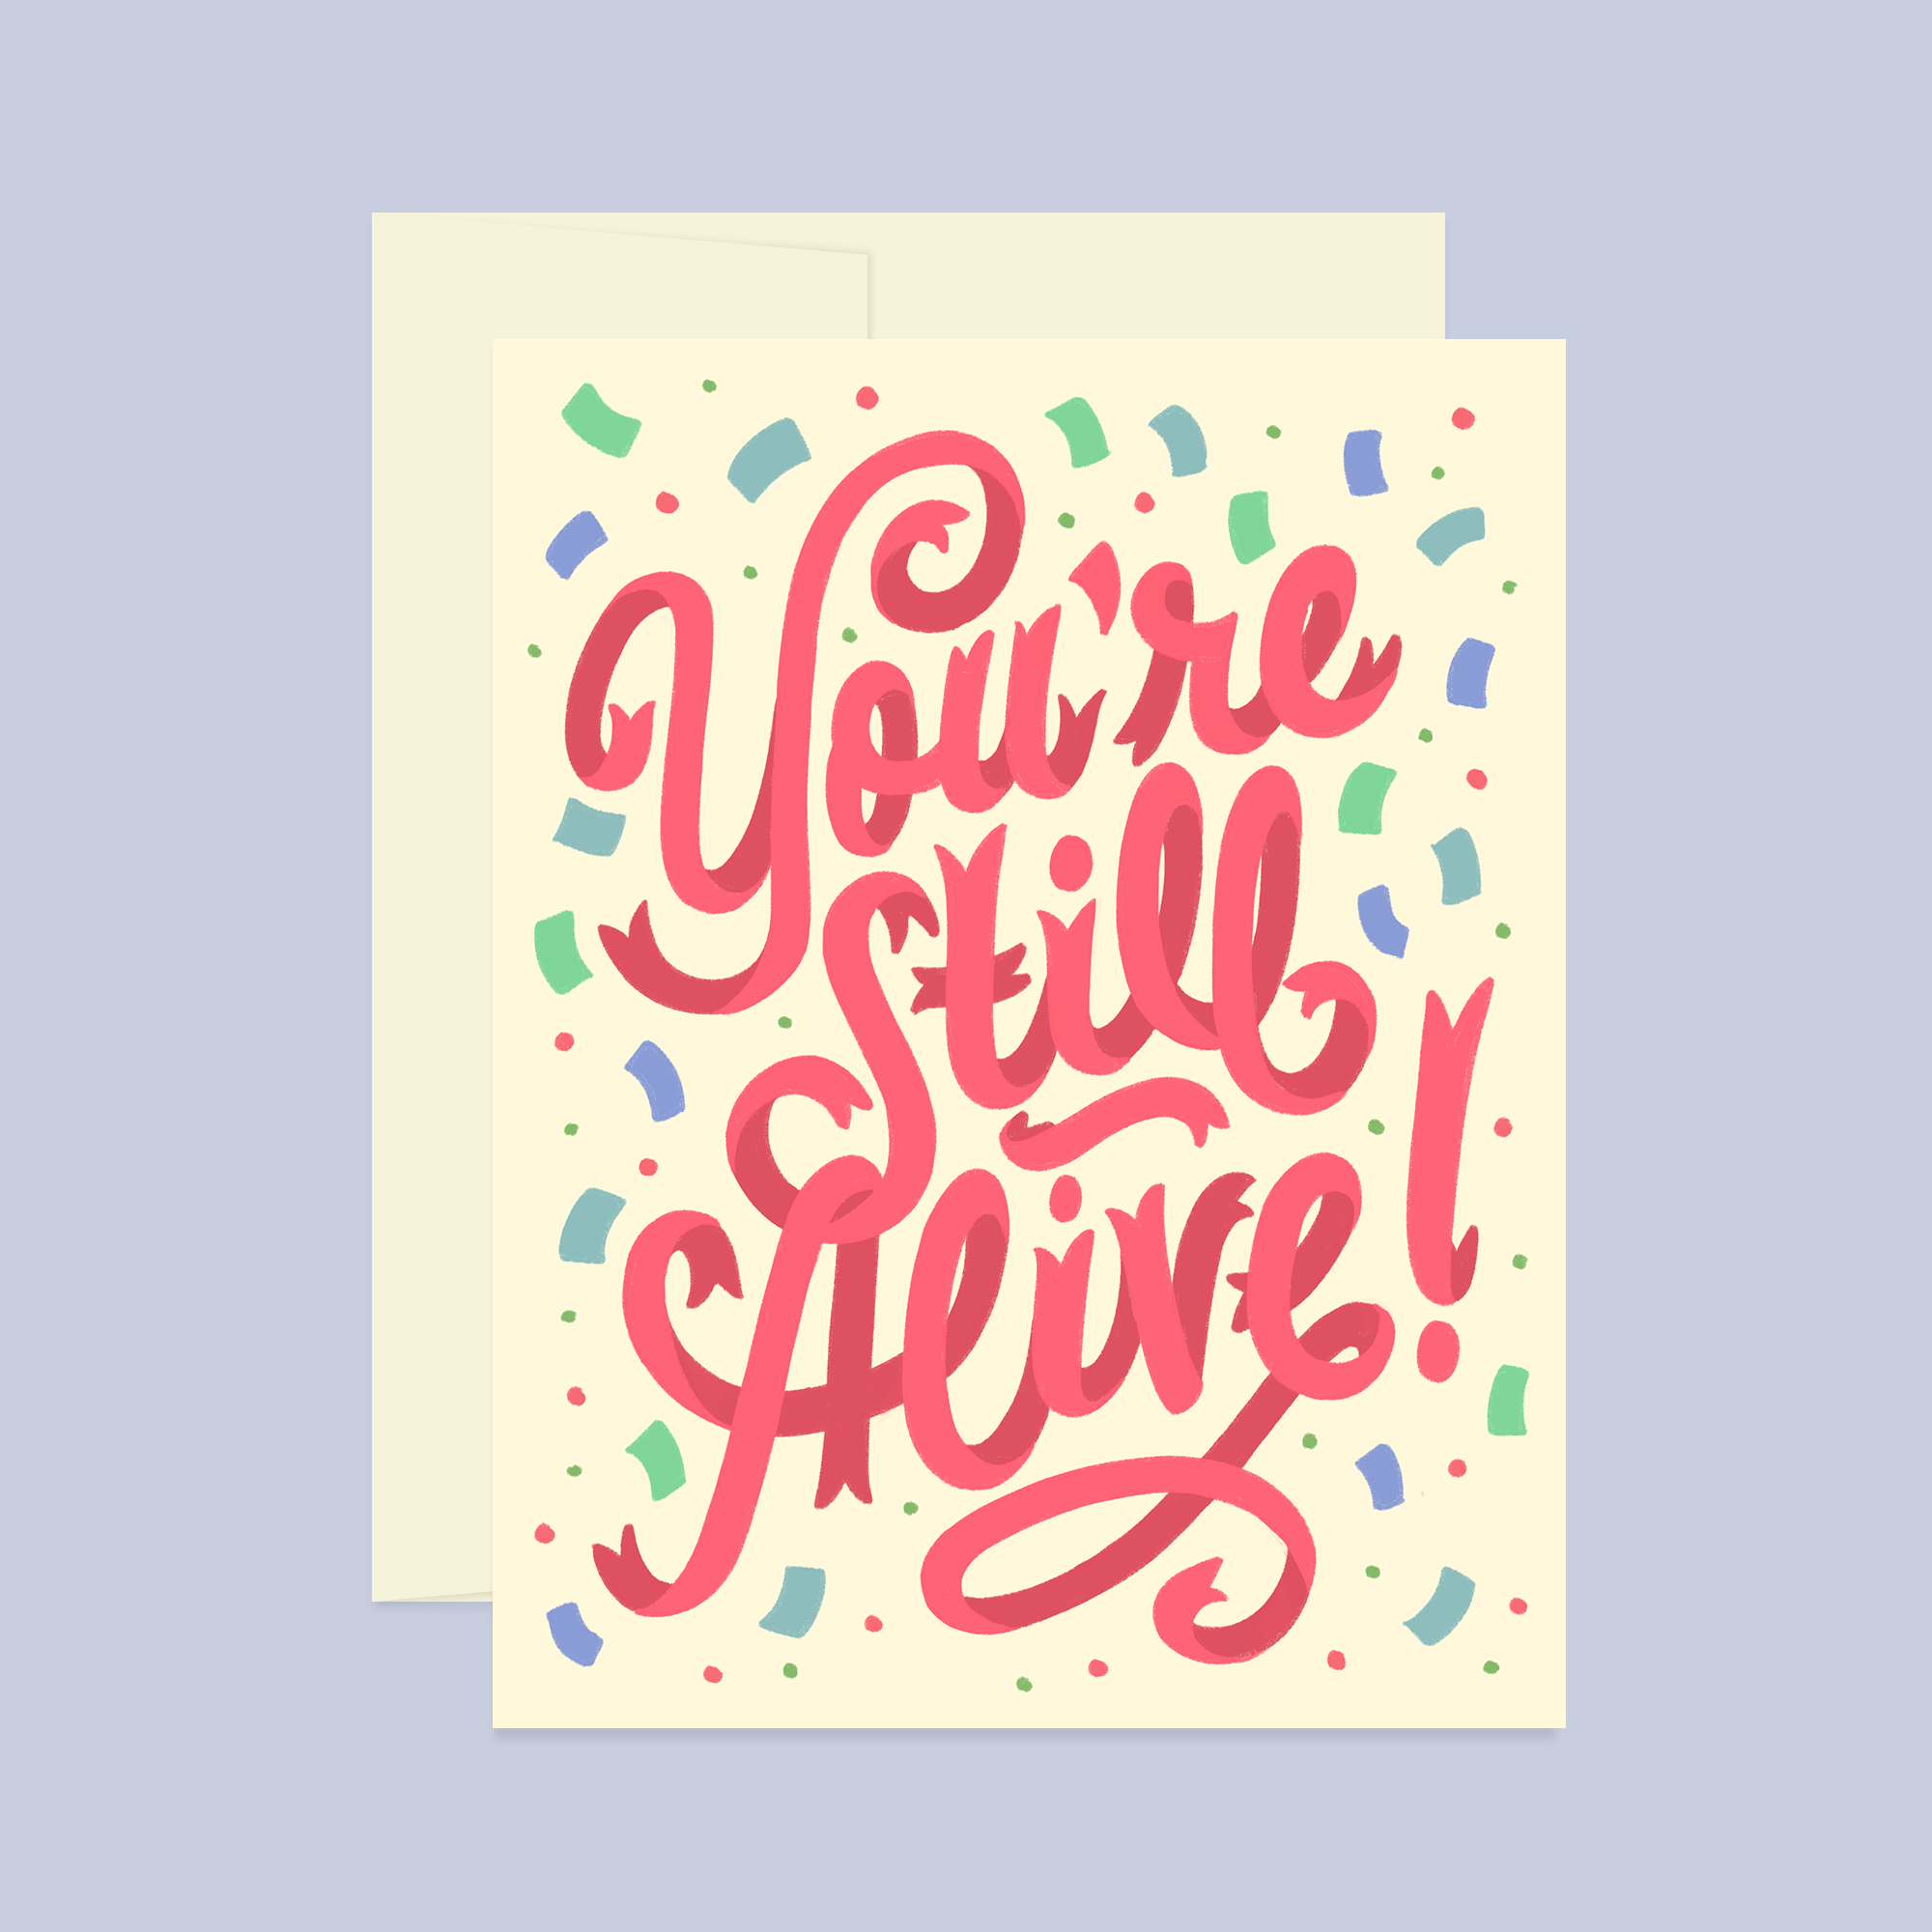
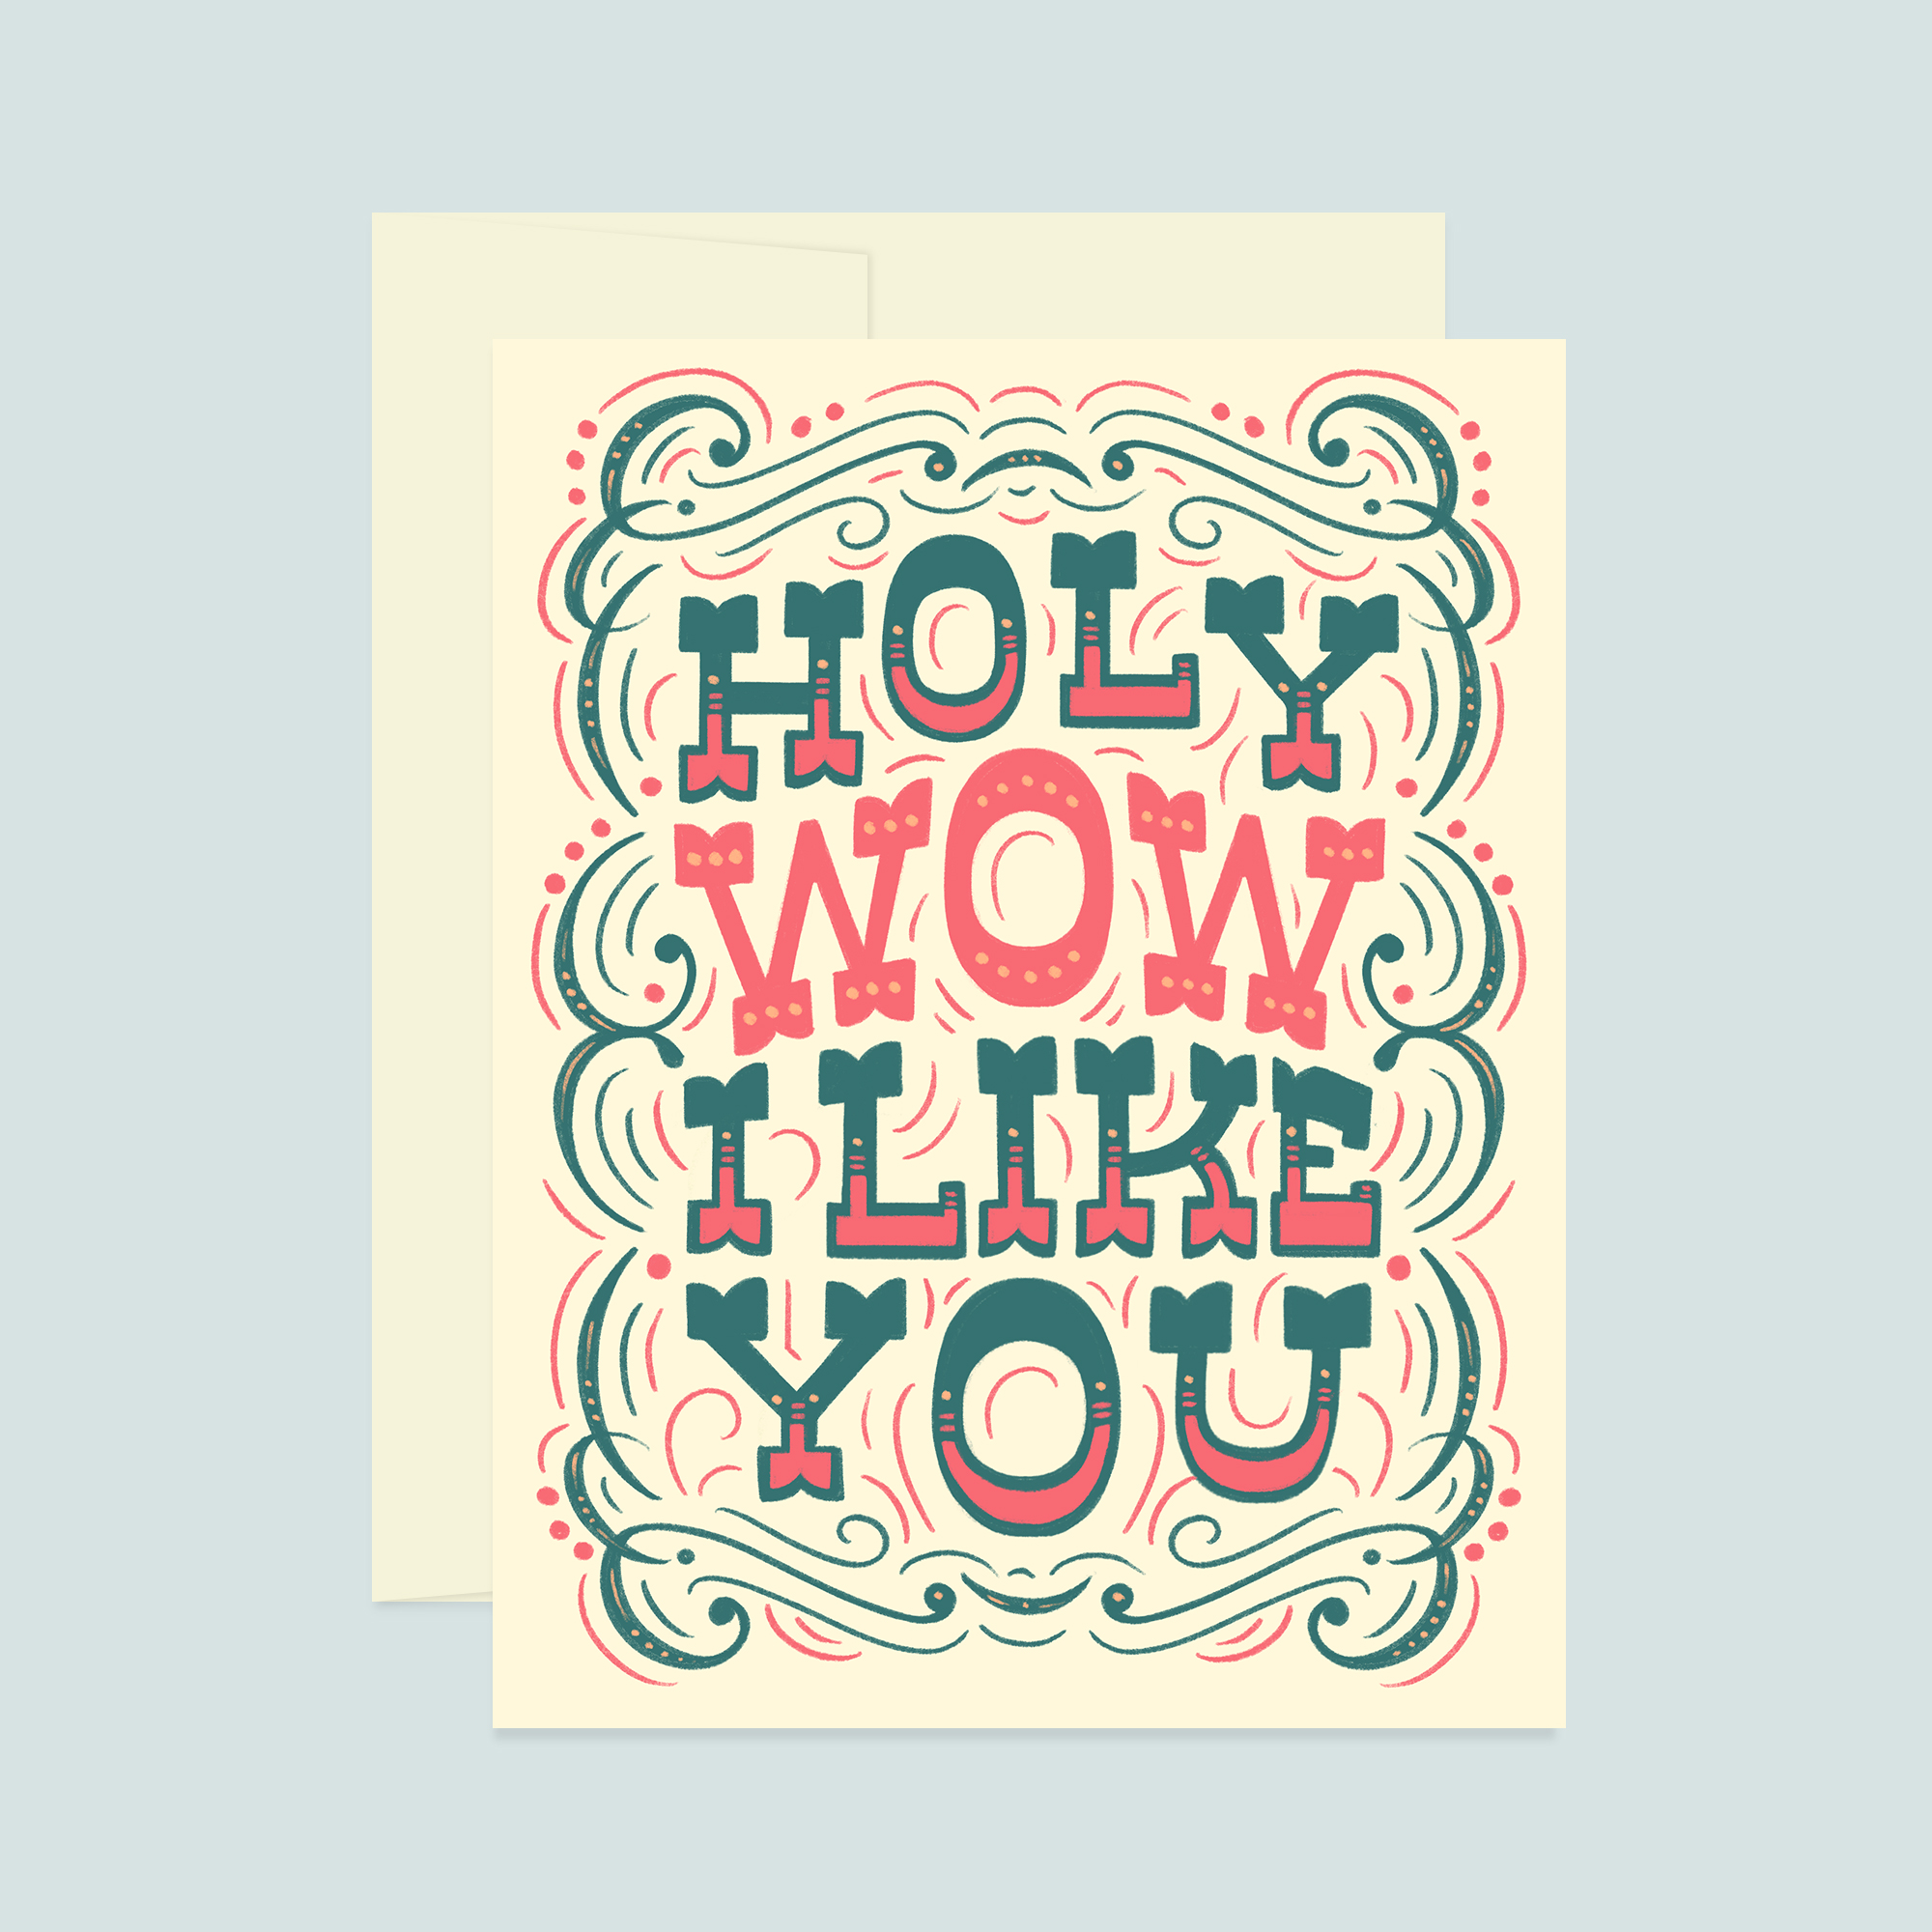
For my primary card product shots, I don’t use any photographed elements at all. I simply made a fake envelope and a fake card I can switch out. To make things more visually interesting, I change out the background color to complement each card.


STYLE YOUR OWN PHOTOS
Creating your own, real photos isn’t as daunting as it sounds! There’s a lot you can do with your smartphone camera and some natural lighting (see this article by Lauren Hom), and even more if you’re willing to invest in some basic equipment.
For example, check out the photo to the left. Before I owned a “professional” camera, I took this bad boy with my cell phone and touched it up with a few edits in Photoshop. I simply used a slate I picked up from Home Depot as the background, set the slate by a big window, and snapped away. The most important things to consider are good lighting, composition, and photo resolution/clarity—all of which you can DIY at little or no cost.
If you want to push your production value even higher, you can invest in a camera and some studio equipment. My current set up consists of a Panasonic Lumix G7 Mirrorless Camera, a Vangard Alta Pro Tripod, a StudioFX Soft Box Lighting Kit, and several rolls of seamless background paper and backdrops I’ve picked up from Home Depot (various types of flooring). If you want more details on these products, check out my blog post My Favorite Business & Lettering Tools.
You can also add props to spruce up your photos and flat lays. I usually grab little vases or trinkets I have around my house, or pick up a few things from Target. I set up a white seamless background (or whatever I’m using) on the floor or a table, and start arranging objects. I constantly frame up the shot and adjust the composition until it feels right.
Below, check out a behind-the-scenes view of a flat lay I worked on with Bill Sallans, the photographer I mentioned earlier. While I worked with Bill to get this shot, I could have feasibly replicated it myself with the tools that I now have in my studio. Not at all downplaying the skills of pro photographers—someone with a ton of training who does this for a living is clearly going to be WAY quicker, more precise, and far more skilled. They’re going to see things I won’t see and really hone in on the details.
I’m just saying that, with the proper tools, time, and considering that most digital images are shared at smaller sizes, it’s possible to get real, quality images all by yourself.

Behind the scenes of a flat lay

The final shared image

I hope this helps take your content to the next level!
Let me know in the comments if you have any other suggestions, tips, or tricks for creating great product photos. I’d love to hear your ideas!
